HOW TOO


How to Check if Your Vehicle is Getting Fuel
If your car won't start, checking for fuel flow is crucial. Here’s a step-by-step guide to help you determine if your vehicle is getting fuel:
1. Safety First: Ensure the engine is off and the vehicle is in park or neutral. Wear safety glasses and gloves to protect yourself.
2. Locate the Fuel Pump Relay and Fuse: Start by checking the fuel pump relay and fuse in the fuse box. If either is faulty, it could prevent the fuel pump from working.
3. Listen for the Fuel Pump: Turn the ignition key to the "On" position (without starting the engine) and listen for a whining sound coming from the fuel tank. This sound indicates that the fuel pump is working to pressurize the system.
4. Check the Fuel Line: Locate the fuel line running from the fuel tank to the engine. Carefully check the connections for any signs of leaks or damage.
5. Use a Fuel Pressure Gauge: If the previous steps don’t pinpoint the issue, you can use a fuel pressure gauge to check the fuel pressure. Connect the gauge to the fuel rail or fuel line, following the manufacturer's instructions.
6. Test the Pressure: Start the engine or turn the ignition to the "On" position. The gauge should show the specified fuel pressure according to your vehicle's specifications. If it’s too low or zero, there may be a problem with the fuel pump or a clogged fuel filter.
7. Conclusion: If you detect that fuel is reaching the engine, the issue may reside elsewhere. If there’s no fuel pressure or if you're experiencing leaks, further diagnosing may be necessary.
Remember, if you’re unsure or not experienced with these procedures, it’s always best to consult a professional mechanic at Ride or Die Motors Happy troubleshooting!

How to Check for Spark in Your Vehicle
If your car won't start, one important step in diagnosing the issue is checking for spark. Here’s a quick guide to help you through the process:
1. Safety First: Before you begin, ensure the vehicle is in park or neutral and the engine is turned off. Make sure to wear safety glasses and gloves.
2. Locate the Spark Plug Wires: Open your vehicle’s hood and locate the spark plug wires or ignition coils. These are usually situated on top of the engine.
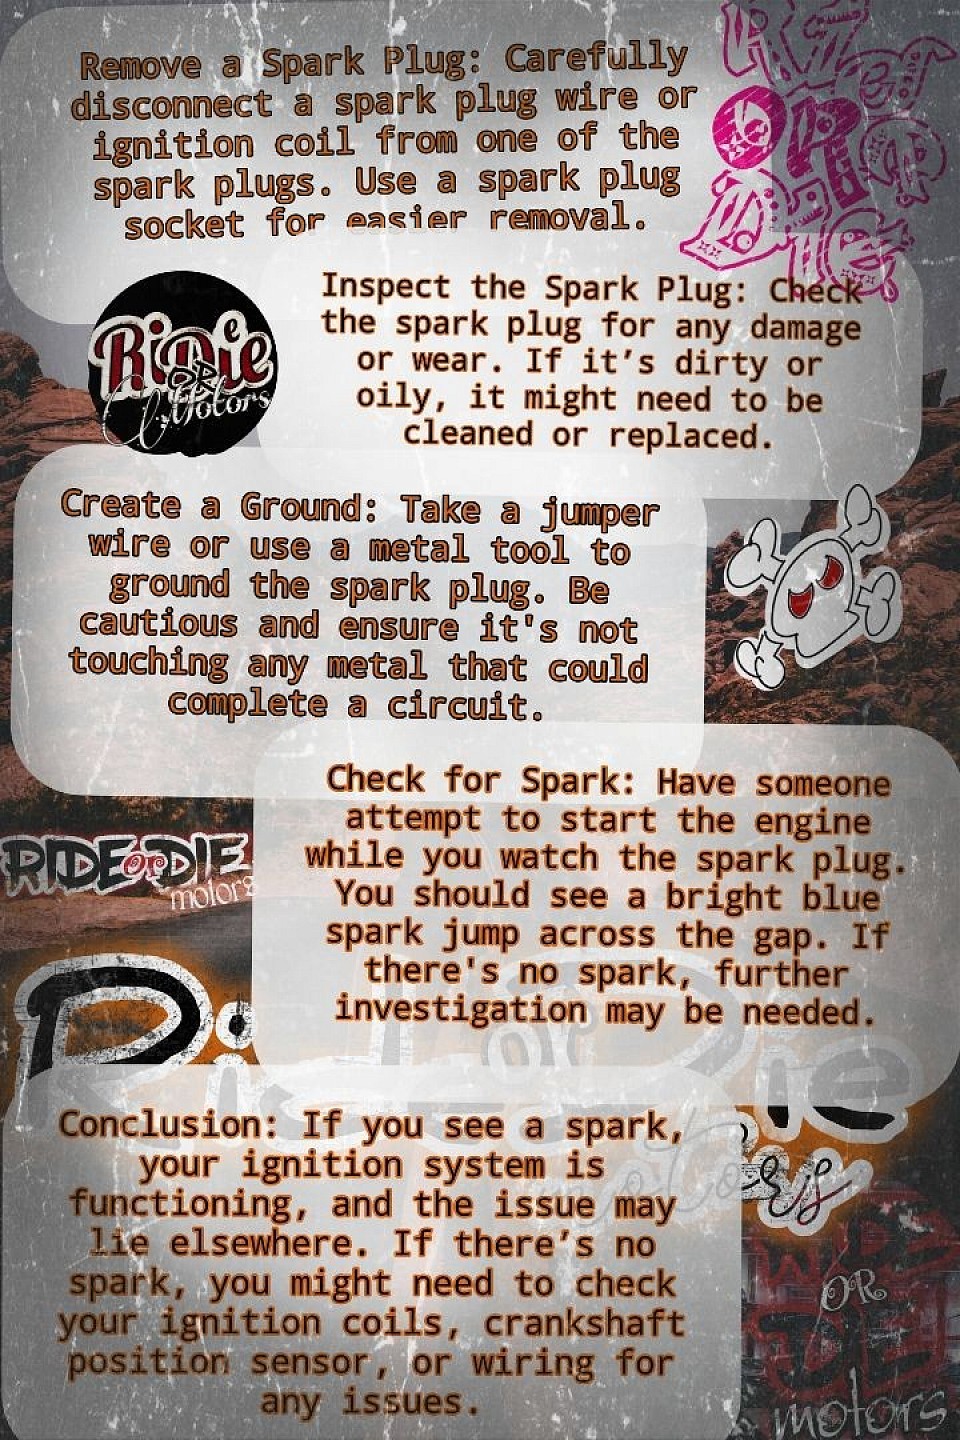
3. Remove a Spark Plug: Carefully disconnect a spark plug wire or ignition coil from one of the spark plugs. Use a spark plug socket for easier removal.
4. Inspect the Spark Plug: Check the spark plug for any damage or wear. If it’s dirty or oily, it might need to be cleaned or replaced.
5. Create a Ground: Take a jumper wire or use a metal tool to ground the spark plug. Be cautious and ensure it's not touching any metal that could complete a circuit.
6. Check for Spark: Have someone attempt to start the engine while you watch the spark plug. You should see a bright blue spark jump across the gap. If there's no spark, further investigation may be needed.
7. Conclusion: If you see a spark, your ignition system is functioning, and the issue may lie elsewhere. If there’s no spark, you might need to check your ignition coils, crankshaft position sensor, or wiring for any issues.
Remember, if you’re unsure or uncomfortable performing these steps, it’s always best to consult with a professional mechanic. Happy troubleshooting!
CHECK, REPLACE, & TYPES OF BRAKE PADS
Changing your brake pads can enhance your vehicle's performance and save you money. Follow these simple steps to change your brake pads yourself.
Tools and Materials Needed:
- Jack and jack stands
- Lug wrench
- C-clamp or brake caliper tool
- New brake pads
- Socket wrench set
- Brake cleaner
- Gloves and safety goggles
Steps to Change Brake Pads:
1. Prepare the Vehicle:
- Park the car on a flat surface and engage the parking brake.
- Loosen lug nuts slightly but do not remove them completely.
2. Lift the Vehicle:
- Use the jack to lift the car and then secure it with jack stands.
- Remove the wheel by taking off the lug nuts completely.
3. Remove the Brake Caliper:
- Locate the brake caliper, which houses the brake pads.
- Remove the bolts holding the caliper in place with a socket wrench.
- Carefully slide the caliper off the brake rotor.
4. Remove Old Brake Pads:
- The old brake pads can usually be slid out of the caliper bracket.
- Check the condition of the rotors; it’s a good idea to replace or resurface them if they are worn down.
5. Install New Brake Pads:
- Slide the new brake pads into the same position as the old ones, ensuring they fit snugly.
- If you are changing both front and rear pads, repeat these steps for the other side.
6. Reattach the Brake Caliper:
- Use a C-clamp to compress the caliper piston back into its housing to make space for the new pads.
- Reposition the caliper over the new pads, then reattach and tighten the caliper bolts.
7. Reinstall the Wheel:
- Place the wheel back on and hand-tighten the lug nuts.
- Lower the car off the jack stands and tighten the lug nuts completely in a criss-cross pattern.
8. Test the Brakes:
- Before driving, pump the brake pedal a few times to ensure the brake pads are properly seated.
- Test drive the vehicle at low speeds to ensure the brakes function correctly.
How to Tell If Your Brake Pads Are Wearing Out:
1. Squeaking or Squealing Noise:
- If you hear a high-pitched squeaking when braking, it is often an indicator that the brake pads have worn down.
2. Grinding Noise:
- A grinding noise can mean that the pads are completely worn out and metal is scraping against metal, which can cause damage.
3. Vibration or Pulsation:
- If you feel vibration in the brake pedal when braking, it can indicate that the brake pads are unevenly worn or that the rotors are warped.
4. Indicator Light:
- Some vehicles have an indicator light on the dashboard that alerts you when it’s time to replace brake pads.
5. Thickness of the Pads:
- Inspect the brake pads visually. If they are less than ¼ inch thick, it’s time to replace them.
Brake Pad Options and Price Differences:
1. Organic Brake Pads:
- Made from carbon compounds; softer and quieter.
- Price: $30 - $75 per set.
2. Semi-Metallic Brake Pads:
- Composed of metal fibers and other materials. Good performance in heat but can create noise and wear rotors faster.
- Price: $50 - $100 per set.
3. Ceramic Brake Pads:
- Constructed from ceramic and non-ferrous materials; they offer quieter operations and less dust. Longer-lasting compared to other types.
- Price: $70 - $150 per set.
4. Performance Brake Pads:
- Designed for high-performance vehicles. Provide excellent braking power and are more expensive.
- Price: $100 - $300 per set.
(These prices are averages online and retail stores. We can get you any of these options for less gurenteed)
Conclusion
Changing your brake pads is a manageable task with the right tools and knowledge. Regularly checking your brakes can prevent serious safety issues. If you are unsure at any step, don't hesitate to reach out to Ride or Die Motors for expert assistance!
How to Change Your Car's Oil: A Step-by-Step Guide
Changing the oil in your vehicle is an essential maintenance task that helps ensure the longevity and performance of your engine. Here's a comprehensive guide on how to do it, as well as important information about oil types, costs, and frequency of changes.
Types of Oil
1. Conventional Oil:
- Regular motor oil derived from crude oil.
- Common weights include 5W-20, 5W-30, and 10W-30.
- Generally the most affordable option.
- Price: Approximately $20-$30 for a standard oil change.
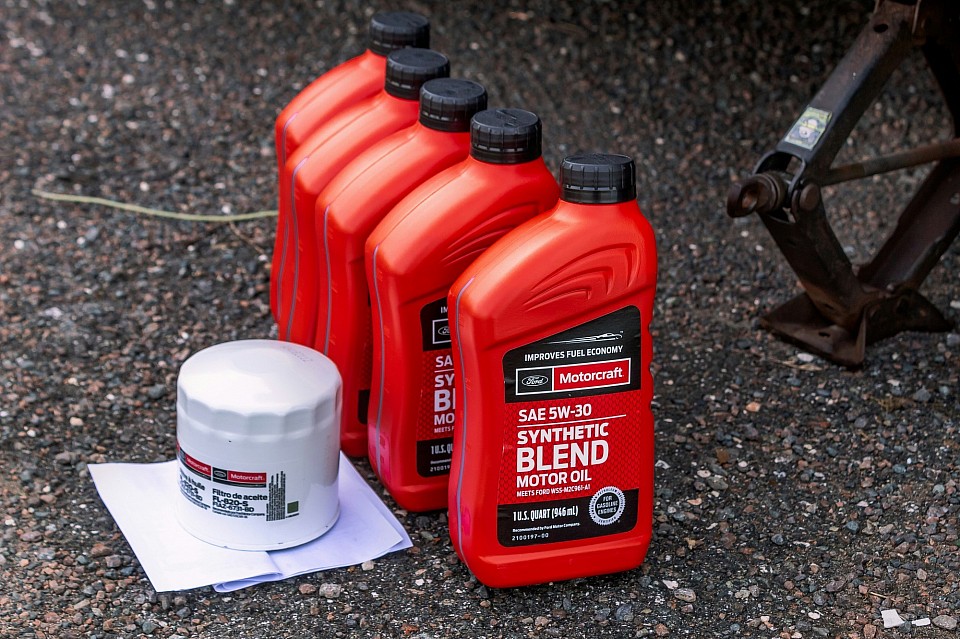
2. Synthetic Oil:
- Man-made lubricants designed to provide higher performance and protection, especially in extreme temperatures.
- Common weights are also 5W-20 and 5W-30.
- Offers better lubrication and engine cleanliness.
- Price: Typically $50-$75 for an oil change due to higher oil costs.
3. Semi-Synthetic Oil:
- A blend of conventional and synthetic oils.
- Offers some benefits of synthetic oil at a lower price.
- Price: Around $30-$50 for an oil change.
Oil Change Cost Overview
- Oil Filter: The oil filter generally costs between $10 to $20. This is an important component that should always be replaced during an oil change to maintain engine cleanliness.
- Total Cost: When considering labor costs, a professional oil change can range from $30 at places like Henry’s Auto to $75 or more at quick lube services. Some shops may offer discounts for using their services regularly.
Importance of Regular Oil Changes
Changing your oil regularly is crucial for several reasons:
- Engine Longevity: Fresh oil helps remove dirt, sludge, and debris that accumulate over time, protecting the engine from wear and prolonging its lifespan.
- Performance: Clean oil ensures smoother engine operation, contributing to better performance and fuel efficiency.
- Prevent Overheating: Oil lubricates engine components, reducing friction and preventing overheating.
- Oil Degradation: Over time, oil breaks down and loses its effectiveness, which can lead to serious engine problems.
Recommended Oil Change Frequency
- Every 3,000 to 5,000 miles: This is a general recommendation for conventional oil.
- Every 5,000 to 7,500 miles: If using synthetic oil, this longer interval can be appropriate.
How to Change Your Oil
1. Gather Materials:
- New oil (check the owner’s manual for the correct type and amount).
- New oil filter.
- Oil filter wrench.
- Socket wrench (to remove the drain plug).
- Oil catch pan.
- Funnel.
- Rags or paper towels.
2. Prepare Your Vehicle:
- Park on a flat surface and turn off the engine.
- Allow the engine to cool if it has been running.
3. Drain the Old Oil:
- Place the oil catch pan under the oil pan.
- Use a socket wrench to carefully remove the drain plug and let the old oil drain completely.
4. Replace the Oil Filter:
- Use the oil filter wrench to remove the old oil filter.
- Make sure the rubber gasket comes off with it.
- Lubricate the rubber gasket on the new oil filter with a bit of new oil, and install it by hand.
5. Add New Oil:
- Replace the drain plug and tighten it securely.
- Using a funnel, pour in the new oil according to the manufacturer’s specifications.
6. Check Oil Level:
- Start the engine and let it run for a minute.
- Turn off the engine and wait a few minutes, then check the oil level with the dipstick. Add more oil if necessary.
7. Dispose of Old Oil:
- Take the used oil to a recycling center or an auto shop that accepts it.
Conclusion
Regular oil changes are vital for keeping your vehicle running smoothly. Depending on the type of oil used and driving conditions, the benefits can be significant in terms of performance and engine health. Consider scheduling your next oil change soon, and remember, if you need assistance, Ride or Die Motors is here to help you with all your automotive needs!

How to Change a Headlight Bulb: A Detailed Guide for Most Common Cars
Changing a headlight bulb is a straightforward task that can save you time and money. This guide provides step-by-step instructions for replacing headlight bulbs in various common car models, along with an explanation of different types of headlight bulbs.
Tools You'll Need
- New headlight bulb (check your vehicle manual for the correct type)
- Safety gloves (to protect from oil and dirt)
- Screwdriver (if needed)
- Clean cloth or paper towel
Steps to Change a Headlight Bulb
1. Preparation
- Park your vehicle on a flat surface, turn off the ignition, and engage the parking brake.
- Open the hood and locate the headlight assembly.
2. Access the Headlight Bulb
- Depending on the vehicle, you may need to remove a cover or a set of screws to access the bulb. Use a screwdriver if necessary.
- For some models, you might need to disconnect the battery to avoid electrical issues.
3. **Remove the Old Bulb
- Locate the headlight bulb holder behind the headlight assembly.
- Turn the bulb holder counterclockwise to release it.
- Carefully pull the old bulb straight out. If it’s stuck, gently wiggle it while pulling.
4. Install the New Bulb
- Take your new headlight bulb out of the package. Always wear gloves or use a clean cloth to handle it, as oils from your fingers can damage the bulb.
- Insert the new bulb into the holder. Make sure it fits securely.
- Turn the bulb holder clockwise to lock it in place.
5. Reassemble and Test
- If you removed any covers or screws, reattach them securely.
- Close the hood, start your vehicle, and turn on the headlights to check if the new bulb is functioning properly.
6. Dispose of the Old Bulb
- Properly dispose of the old bulb in accordance with local regulations, as some bulbs contain materials that can be harmful to the environment.
Types of Headlight Bulbs
Headlight bulbs come in various types, each with its advantages and disadvantages. Here’s an overview of the most common types:
1. Halogen Bulbs
- Description: Most common and affordable type.
- Advantages: Provide good brightness, easy to replace, and relatively inexpensive.
- Disadvantages: Limited lifespan (about 500-1,000 hours) and can produce a lot of heat.
2. HID (High-Intensity Discharge) Bulbs
- Description: Also known as xenon bulbs, they produce light through an electrical arc between two electrodes.
- Advantages: Much brighter than halogen bulbs (up to three times) and have a longer lifespan (2,000-3,000 hours).
- Disadvantages: More expensive and require a ballast to operate.
3. LED (Light Emitting Diode) Bulbs
- Description: Use semiconductor technology to produce light.
- Advantages: Extremely durable, energy-efficient, and have a lifespan of 15,000-30,000 hours.
- Disadvantages: Higher initial cost and may require a special housing or adapter for some vehicles.
4. Laser Headlights
- Description: A newer technology that uses lasers to generate light, which is then converted into a usable beam.
- Advantages: Very bright and efficient with long range; great for luxury vehicles.
- Disadvantages: Currently expensive and not widely available.
Conclusion
Changing a headlight bulb is a simple maintenance task that can enhance your safety on the road. By knowing how to perform this task and understanding the different types of headlight bulbs, you can make informed decisions about your vehicle's lighting needs. If you have any questions or need further assistance, feel free to ask!
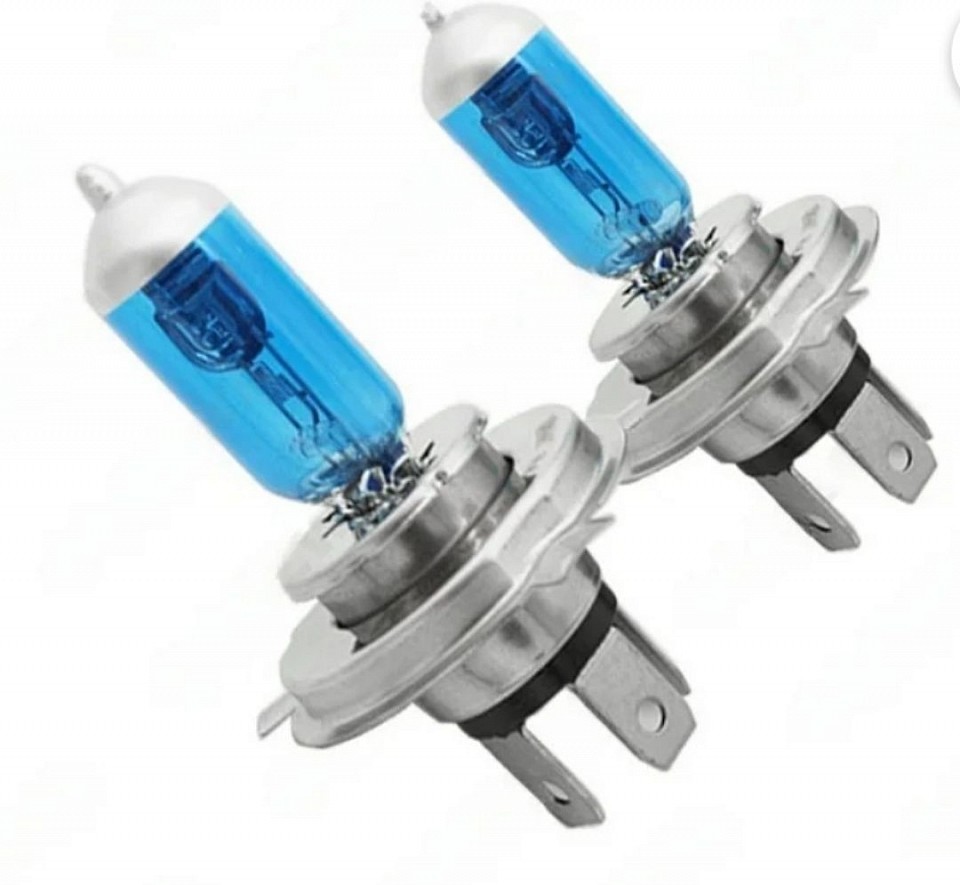
Halogen replacement headlight bulbs
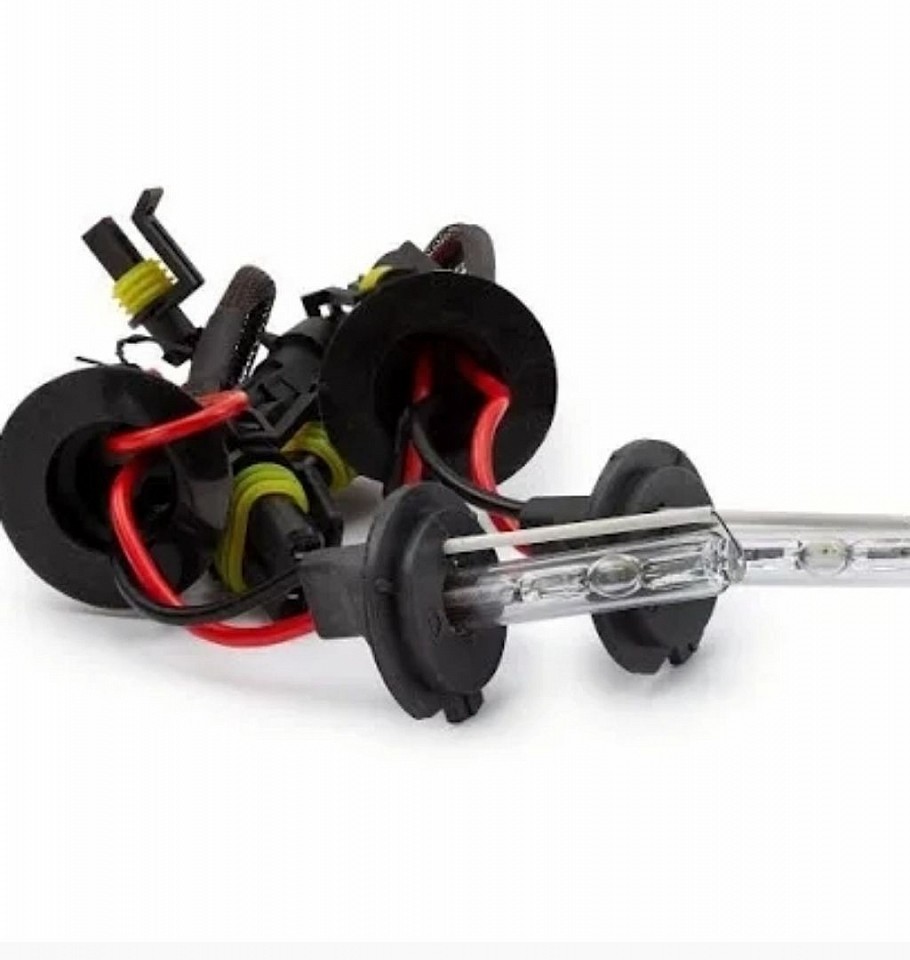
Hid replacement headlight bulbs

Replacement laser headlight bulbs
FUEL FILTER CHANGE
How to Replace a Fuel Filter on Common Vehicles
Replacing the fuel filter in your vehicle is a crucial maintenance task that ensures the engine receives clean fuel, enhancing performance and fuel efficiency. Below is a detailed explanation of how to replace the fuel filter in some of the most common vehicles, along with the tools you'll need and the estimated costs for OEM and aftermarket fuel filters.
Common Vehicles Covered:
1. Toyota Camry
2. Honda Civic
3. Ford F-150
1. Toyota Camry
Tools Needed:
- Ratchet and socket set
- Fuel line disconnect tool
- Screwdriver
- Clean rags
- Safety goggles
- Gloves
Steps:
1. Relieve Fuel Pressure: Start by relieving the fuel pressure. You can do this by removing the fuel pump fuse and then running the engine until it stalls.
2. Disconnect the Battery: Always disconnect the negative terminal of the battery before working on the fuel system.
3. Locate the Fuel Filter: The fuel filter is typically located along the fuel line, under the car near the fuel tank.
4. Remove the Old Filter: Use the fuel line disconnect tool to carefully disconnect the fuel lines from the filter.
5. Install the New Filter: Connect the new filter in the same orientation as the old one, ensuring the arrows on the filter point in the right direction.
6. Reconnect the Fuel Lines: Securely push the fuel lines back onto the filter until they click in place.
7. Reconnect the Battery: Reattach the negative battery terminal and replace the fuel pump fuse.
8. Test for Leaks: Turn the ignition to the "ON" position (without starting the engine) to pressurize the fuel system, and check for any leaks.
Cost:
- OEM Fuel Filter: Approximately $50 - $80
- Aftermarket Fuel Filter: Approximately $20 - $40
---
2. Honda Civic
Tools Needed:
- Ratchet and socket set
- Fuel line wrench
- Screwdriver
- Safety goggles
- Gloves
Steps:
1. Relieve Fuel Pressure: Remove the fuel pump relay and start the engine until it stalls.
2. Disconnect the Battery: Disconnect the negative battery terminal.
3. Locate the Fuel Filter: The fuel filter is usually located near the engine bay or on the fuel line under the vehicle.
4. Remove the Old Filter: Use the fuel line wrench to disconnect the fuel lines from the filter.
5. Install the New Filter: Connect the new filter according to the manufacturer's specifications.
6. Reconnect the Fuel Lines: Ensure the connections are tight and secure.
7. Reconnect the Battery: Reattach the negative battery terminal and replace the fuel pump relay.
8. Test for Leaks: Turn the ignition key to the "ON" position without starting the engine to check for leaks.
Cost:
- OEM Fuel Filter: Approximately $45 - $75
- Aftermarket Fuel Filter: Approximately $15 - $30
---
3. Ford F-150
Tools Needed:
- Ratchet and socket set
- Fuel line disconnect tool
- Screwdriver
- Clean rags
- Safety goggles
- Gloves
Steps:
1. **Relieve Fuel Pressure: Remove the fuel pump relay and start the engine until it stalls.
2. Disconnect the Battery: Disconnect the negative battery terminal.
3. Locate the Fuel Filter: The fuel filter is typically located along the frame rail under the vehicle.
4. Remove the Old Filter: Use the fuel line disconnect tool to detach the lines from the filter.
5. Install the New Filter: Make sure to orient the new filter correctly, as indicated by the arrow.
6. Reconnect the Fuel Lines: Ensure the connections are tight.
7. Reconnect the Battery: Reconnect the negative battery terminal and replace the fuel pump relay.
8. Test for Leaks: Check for leaks by turning the ignition to the "ON" position.
Cost:
- OEM Fuel Filter: Approximately $30 - $60
- Aftermarket Fuel Filter: Approximately $10 - $25
---
Conclusion
Replacing your vehicle’s fuel filter is a task that can be done at home with the right tools and steps. Always consult your vehicle’s manual for specific instructions and safety precautions. For the best performance, consider using OEM parts if your budget allows, but quality aftermarket options are available that can also provide excellent results.